
Traffic Diversion Plans in Dubai: What Contractors Should Prepare Before an RTA Submission
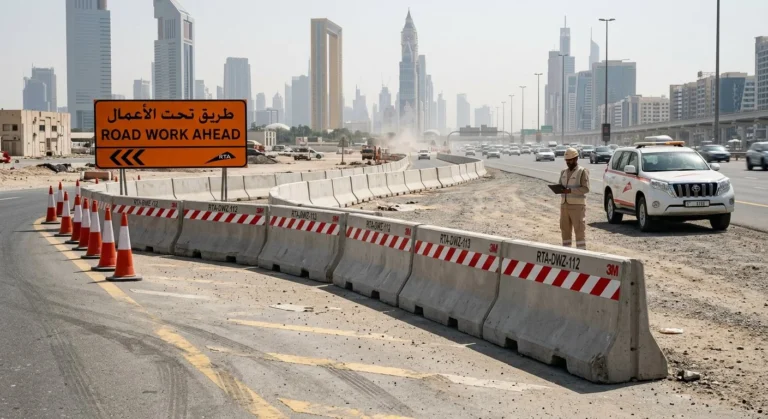
A traffic diversion submission can be delayed by details that seem small on site: a missing cross-section, an unclear work-zone boundary, an unaddressed pedestrian route or a barrier line that does not leave the space needed behind it.
For a contractor planning work within Dubai’s road right-of-way, the diversion drawing is more than an administrative formality. It is the shared reference for road users’ movements, site access, temporary safety devices and the sequence in which the work will be carried out.
This guide explains what to assemble before submission and how to coordinate the barrier package with the traffic designer. It focuses on Dubai’s RTA process. Other road owners, free zones and emirates may use different procedures. Always check the current authority service, manual, permit conditions and project requirements.
Start by identifying the road and the approval route
Confirm who owns or controls the affected road, whether the works are within the right-of-way, the proposed closure and the duration. The responsible authority and permit route can differ for a major road, minor road, private development, event closure or work affecting another asset.
Dubai RTA publishes separate services for major and minor road diversions. Its major-road service states that an electronic application through the Right-of-Way Permit System is required for the applicable diversion process and that excavation works require relevant NOCs. Check the current service conditions for your project rather than assuming that every application follows the same route.
A diversion permit, an excavation NOC and an approved barrier product are different matters. One does not automatically replace the others. For work outside Dubai, the Abu Dhabi traffic detour guide and Northern Emirates barrier guide provide starting points; verify the current process with the relevant road owner.
What should the contractor prepare before the drawing begins?
The traffic designer needs a reliable picture of both the proposed works and existing conditions. An early site visit with the construction, utility and traffic teams can identify constraints that are not visible on a general arrangement drawing.
| Information | Why it is needed |
|---|---|
| Exact location and road owner | Identifies the affected network and the applicable approval route. |
| Existing lanes, junctions, accesses and road conditions | Establishes how traffic and pedestrians currently move. |
| Work limits, excavation and construction sequence | Shows the area that needs to be protected in each phase. |
| Closure period, working hours and proposed phases | Allows the designer to assess the operational effect and permit conditions. |
| Existing utilities, bus stops and emergency access | Helps identify interfaces, additional approvals and continuity requirements. |
| Project contacts and responsibility matrix | Clarifies who prepares, reviews, implements and maintains the arrangement. |
| Survey, dated site photographs and current drawings | Supports an accurate submission and helps resolve discrepancies. |
Obtain traffic counts or analysis where the authority or project requires them. RTA’s published technical checklist describes circumstances in which counts are required or may be requested; the project designer should confirm the applicable requirements and the current version.
What belongs on a traffic diversion drawing?
The exact submission depends on the road, work and permit type. RTA’s published checklist refers to a key plan, cross-sections and the components specified by the Work Zone Traffic Management Manual. The applicant should use the current checklist and service requirements.
A practical review should address the following:
- Key plan and location. Road names, surrounding area, work limits and affected approaches.
- Existing and proposed arrangement. Lanes, shoulders, junctions, accesses and the intended diversion route.
- Cross-sections. Existing and proposed lane widths, barriers, traffic safety buffer, offset, excavation and excavation safety buffer where applicable.
- Traffic control devices. Signs, cones, barriers, markings and other equipment as specified in the governing manual and design.
- Barrier ends and transitions. The specified end treatment, crash cushion or transition and its relationship to the barrier system.
- Pedestrians and access. Safe routes, affected entrances, emergency access and any project-specific public transport interfaces.
- Phasing and duration. The layout for each stage and the duration or closure times required in the submission.
- Sign-off and supporting documents. Required stamps, signatures, permits, photographs, NOCs and project-specific documentation.
Do not assume that all projects require the same devices or that a standard drawing can be applied without adjustment. For example, the RTA’s published drawing checklist addresses concrete barriers and standard end terminals or crash cushions for certain longer-duration closures, and specifies conditions for showing truck-mounted attenuators. Apply those statements in the context of the full current manual and the actual authority review.
Coordinate the barrier design before ordering
Early supplier engagement is useful, but the traffic designer must establish the system requirements. The procurement brief should identify the complete barrier arrangement rather than merely asking for a length of concrete blocks.
| Technical item | Question to resolve |
|---|---|
| Barrier system | Which complete product and configuration is specified or accepted for the phase? |
| Performance | What test standard, test level or other evidence is required for this application? |
| Connections and anchors | Are units free-standing, connected or anchored under the approved design? |
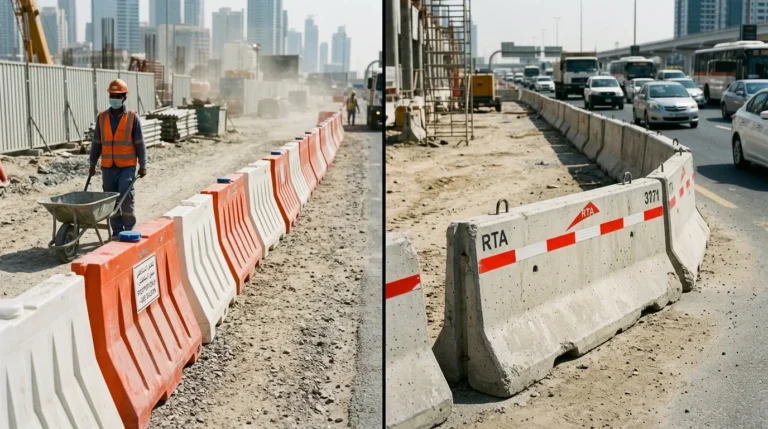
| Working width and clearance | Is there sufficient space behind the system for its specified movement and the excavation? |
| End treatment | Which compatible terminal or crash cushion is required? |
| Visibility | What delineation, signs and markings are shown on the approved drawing? |
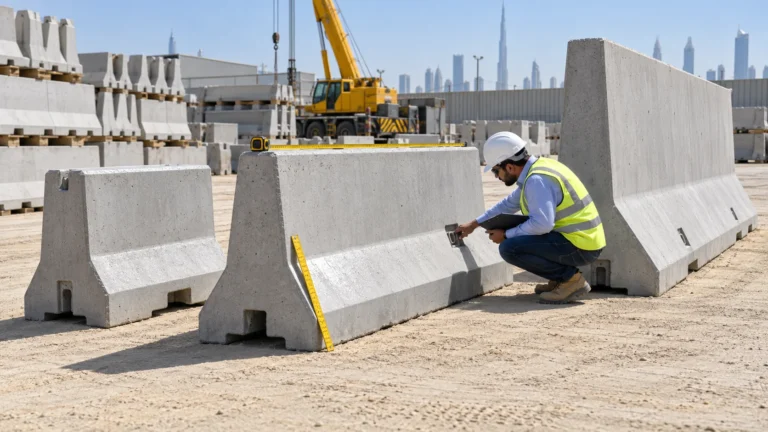
| Installation and removal | What lifting, lane access, inspection and sequencing controls are needed? |
For the preliminary unit count, the concrete barrier quantity guide explains how to translate a line length into an order; the approved layout and actual effective unit length determine the final quantity. A profile name alone does not establish the impact performance of a complete system. The F-Type, Jersey and single-slope comparison explains the distinction between geometry and project-specific selection.
Prepare a phase-by-phase delivery and installation plan
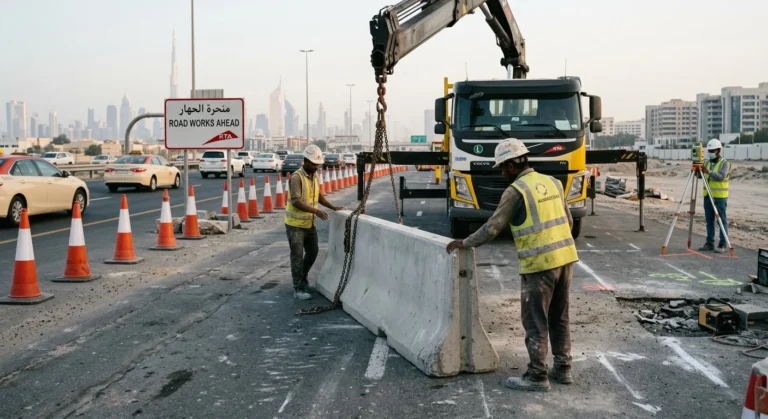
A technically sound drawing can still be difficult to execute if the barriers arrive outside the permitted work window or if a crane cannot reach the final placement point. Coordinate the traffic designer, supplier, lifting team and site supervisor before fixing the programme.
- Break the barrier quantities down by approved phase and installation sequence.
- Confirm actual unit weight, lifting points and transport configuration with the supplier.
- Check delivery access, site unloading location, ground capacity and any heavy-vehicle restrictions or separate permits.
- Identify how exposed ends and incomplete sections are protected during installation and removal.
- Maintain a controlled revision register so the installation team uses the latest approved drawing.
- Schedule inspection and handover before the arrangement is opened to traffic.
The barrier lifting and storage guide provides additional handling considerations. Check the supplier’s actual unit weight against the barrier dimensions and weight overview and coordinate the delivery window using the Dubai truck delivery planning guide. Confirm current restrictions separately. The actual crane plan and approved project method statement govern the work.
Common submission and site coordination issues
| Issue | Why it matters | Better approach |
|---|---|---|
| Drawing does not match site conditions | A previously unknown access or utility may affect the layout. | Verify the survey and photographs before submission. |
| Barrier shown without connection or end details | The installed system may not match the design intent. | Coordinate the full product and transition details with the designer. |
| No room behind the barrier | The protected work area may encroach on required system movement or buffer space. | Resolve the cross-section and system working width before procurement. |
| One drawing used for all phases | Openings, access and protection can change as works progress. | Prepare and implement each approved phase separately. |
| Product arrives without required evidence | The engineer cannot verify the proposed supply against the project requirements. | Agree on the submittal schedule and documentation in advance. |
| Site changes made informally | The installed diversion may no longer correspond to the permit. | Stop and seek the required review or approval before changing the arrangement. |
Frequently asked questions
Does every diversion need the same RTA permit?
No. RTA publishes different services, including major- and minor-road diversion permits. The right route depends on the affected road and works; confirm with the road owner and current service information.
Is an excavation NOC the same as a traffic diversion permit?
No. They address different aspects of the works. For the applicable major-road service, RTA notes that excavation works require NOCs. Confirm all necessary approvals for the specific project.
Can a contractor install a barrier line before the drawing is approved?
The project team must follow the applicable permit conditions and approved implementation sequence. Do not introduce an unapproved traffic arrangement or assume that product availability grants permission to occupy the road.
Are the same barrier and reflector details valid for every phase?
Not necessarily. Traffic direction, exposure, barrier alignment and end conditions can change. Review each phase against the approved drawing and current authority requirements. The barrier installation guide covers placement planning, but does not replace the phase-specific approved method statement.
What should be sent to a barrier supplier?
Provide the approved or proposed drawings, system specification, quantities by phase, performance documentation requirements, delivery location and programme. Contact Arab Precast to discuss the supply scope and confirm product availability.
Final pre-submission check
Before submitting, make sure the latest drawing, supporting documents and construction sequence describe the same project. Confirm the road authority, NOC interfaces, safety devices, barrier system, buffer space, pedestrian arrangements and all required signatures. A clear technical query raised early is generally more useful than assuming a missing detail will be resolved after approval.